
After your hand crank and bolt have arrived, it's time to make the change to a more simplified sewing machine. Here is my Singer with her nest of taped and frayed wires that powered her motor. I have to wonder how I made it all these years without getting shocked or causing a fire. It was a relief to remove the mess.


The motor, that was a disaster waiting to happen, is gone and has been put in a box. Taking advantage of this, it might be a great time to clean where you couldn't before. My poor baby really needed a good wash down. A little Dr. Bronner's and water helped to release some of the grime and not hurt the decals any more than they already were.

Everything is off and time to clean up the hand wheel and oil where it's necessary.
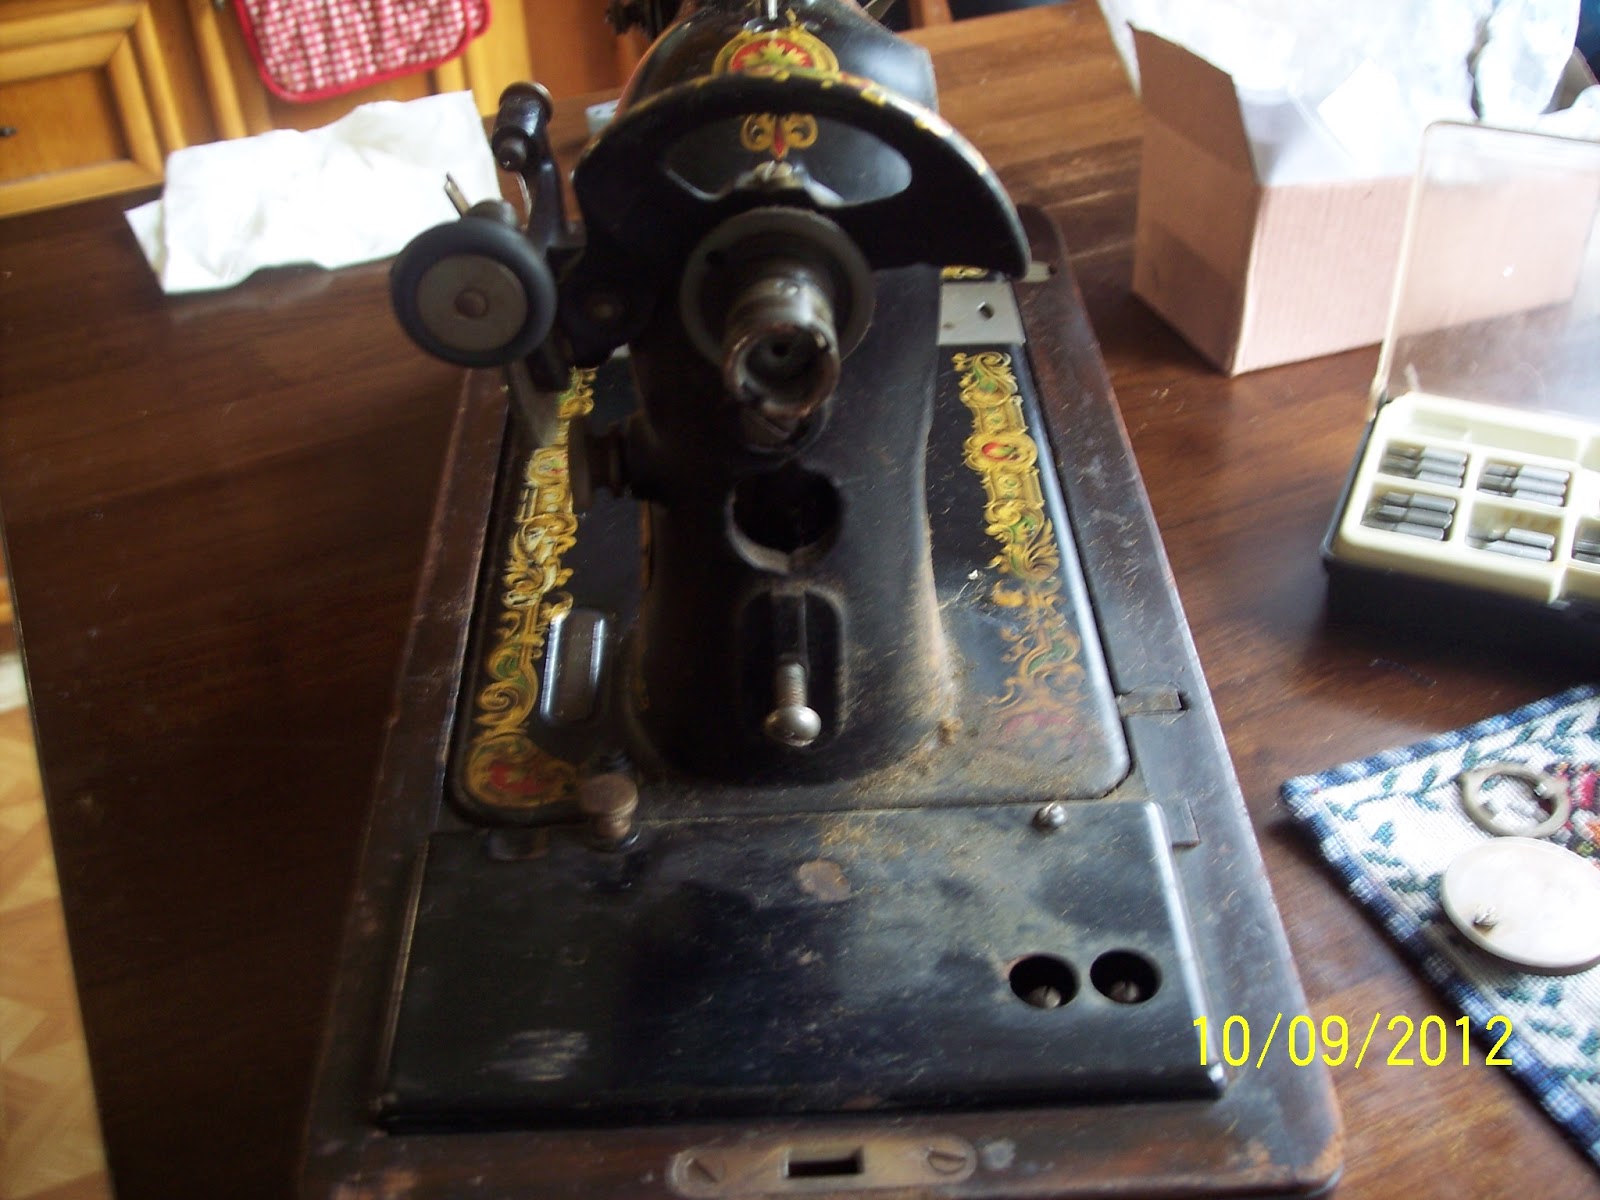

I apologize for not having a picture of everything put back on, but I was so excited about getting the hand crank on, I forgot! This procedure takes more time when you clean first, but my baby really needed it.
The bolt hole that held the motor bracket is where you seat the crank bracket. Line it up nice and straight and screw the bolt down tightly. It will pretty much line itself up, but make sure you have the hand crank mechanism upright. There is a small arm that comes off the hand crank, and this is put between two spokes of your hand wheel. You might have to move that arm into place before you tighten down the bolt. Either way, this arm is what moves your hand wheel, while you are turning the knob. It rotates your hand wheel, which in turn, moves your needle bar and needle up and down.
Know what? It's done!
This is a full on view so you can see how the hand crank is positioned- to the right of the hand wheel.


That's all there is to it! Like I said- the cleaning where you couldn't reach before the motor was removed takes the time. If your machine was already clean, you will have this conversion done in under 30 minutes.
This Dresden Plate was the first thing I completed on my hand crank Singer, after a little tweeking of the tension and adjusting the stitch length. This was also an experiment to see if my template worked, and there will be a tutorial on how I made the template coming up.

This is how I made the conversion. Please do not use my photographs without letting me know first.
For all of my friends/sisters on the vintage site, I dedicate this post to you! You all will never cease to amaze me with your knowledge and advice!
Happy Sewing
No comments:
Post a Comment