Find something very large and round. A plate or a bowl will work. Lay this down on the paper and trace all the way around it, like so:


You do not have to have 16 petals and you can stop anywhere, as long as each segment is equal. You might want your petals fatter, but I would not recommend going any smaller than what I show here. Considering your 1/4" seam, you could easily run into problems going that way. This is just my advice, and you do not need to follow it. These are just basic instructions for making the templates.
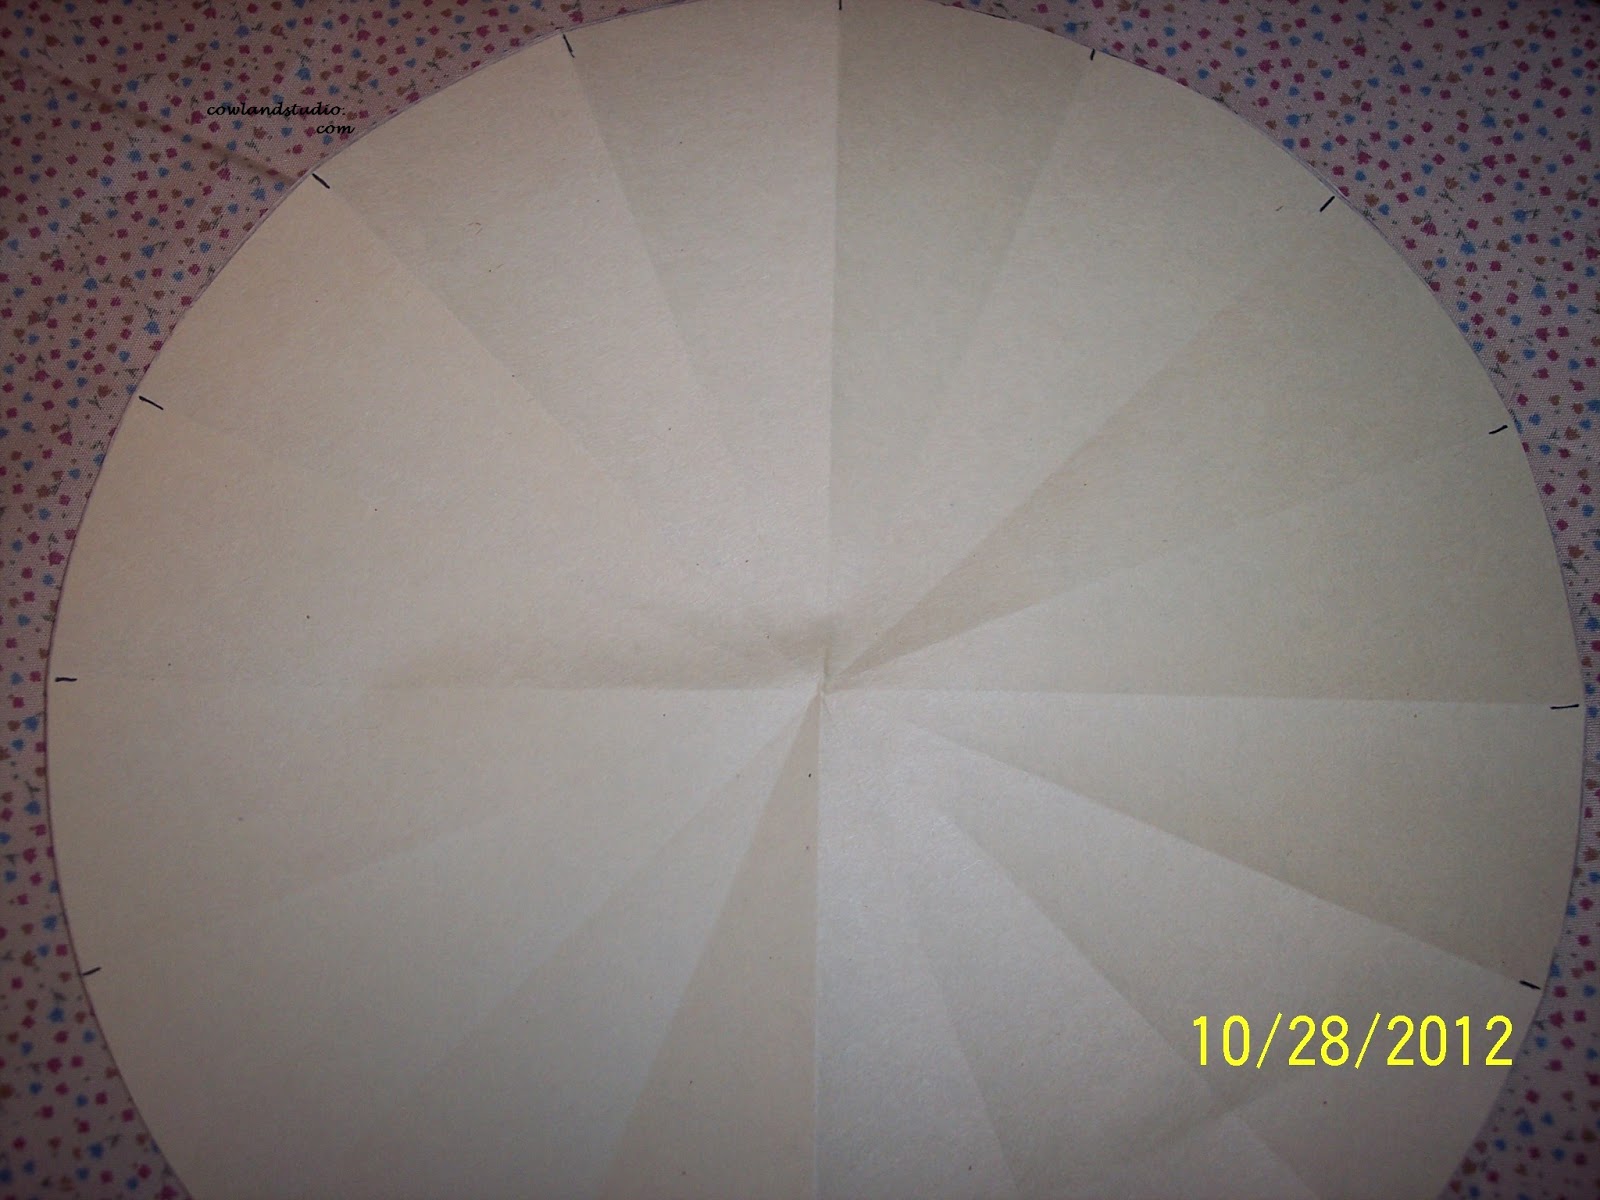
Now that you have a nice paper circle, pick a petal, any petal, and outline it, like this-

Start with the narrow end of the petal. Bring your ruler up so that you have a one inch bottom. If you make it any smaller, you won't have much room come sewing time. Make your mark straight across.
Next is the top- the widest part of the petal. Mine was 2 inches across when the ruler was placed notch to notch. Mark that line, too.
This is the small petal and it calls for 16 petals to make a complete circle or flower.
Now, if you want a longer petal like I did, tape down a piece of paper to make the extension. Mark your bottom line, then measure up to your desired length. Mark that and do that again on the other side. My larger petal is 3 inches across at the top with a one inch bottom.
These next three pictures will show you how I did this.


Transfer these to a heavy piece of cardboard, as in an insert in a new shirt. Something that will last a while. Save your paper templates for when you need new templates. I like to mark any notations right on the template because I know I won't remember any specifics later on.

One more thing to do.
Trace different sized circles on your template cardboard. Make a few different sizes, as you might want a smaller or larger center for the flower. Use anything handy- a cup, bowl, whatever you have. You might not want a circular center and that is up to you, but from what I've seen, a circle is used for the center. Here are two of mine.

You are now done making templates for your Dresden Plate. Get your fabric ready. In Part 2, we will make a Dresden Plate block.
If you have any questions, please use the comment section below and I will get right back to you!
Happy Sewing!
All thumbs up! :)
ReplyDeletethis is very good. I would never be able to explain it like you did. thanks
ReplyDeleteI have searched over and over for a template and how to make my own, this looks like the best yet, thanks so much!!!
ReplyDeleteHello, can you tell me how to find "Part 2"
ReplyDelete